
How to paint a window mural
1. Decide what to paint
Consider what you’d like to paint & if you’re working for a business pop in and discuss what they’d like to see. What will fit well in the window? Will you block any light? How will it look from inside the window? Assess how much time you have and what you can realistically paint within that timeframe.
For example, I loved the idea of painting polar bears drinking coffee for Volare’s winter window mural (an Italian coffee shop). I knew from experience the family-orientated neighbourhood interacted well with animals and characters. The owners loved the idea, and suggested that we wrapped the bears in Italian colours.
2. Create a Quick Design
Make a rough design—there’s no need to spend days on a window mural unless it will be displayed for a long time. Embrace a more experimental approach and let your creativity flow on the window.

Rough sketch for Octopus window design
3. Consider Logistics
Window painting can be quite an undertaking, especially in public locations. If you are in a public space, consider putting up a sign or painting your name/Instagram tag. If you’re working on the outside of the window, check the weather: ensure it's above 2°C, and do not paint if rain or snow is expected. If it’s windy (which I learned the hard way), use a large container like a plastic box or an old suitcase to prevent paint from blowing everywhere. If safety is a concern, wearing headphones without sound can deter people from bothering you or give you an excuse not to engage!
4. Prep the Window
Clean the window beforehand, and place a drop sheet to protect the floor. I don’t recommend taping around the edges of the window, as tape can peel away paint on glass (it acts differently to on a wall), resulting in uneven edges. Instead, I keep a cloth handy for any spills.

I had borrowed a ladder, and placed a drop sheet as part of my prep
5. Prime the Design
I always paint on the outside of the window, as it best suits my layered style. To make the colours pop and appear professional, I prime the design by applying a layer of white paint underneath using a small paint roller for ease. I freehand a rough outline of where I want the design to go. Sometimes, I’ll roughly map out where important features, like eyes, will go by removing some primer and using the window as a guide. Don’t rush this stage; it’s essential to be satisfied with the placement now, as it will be difficult to change later.
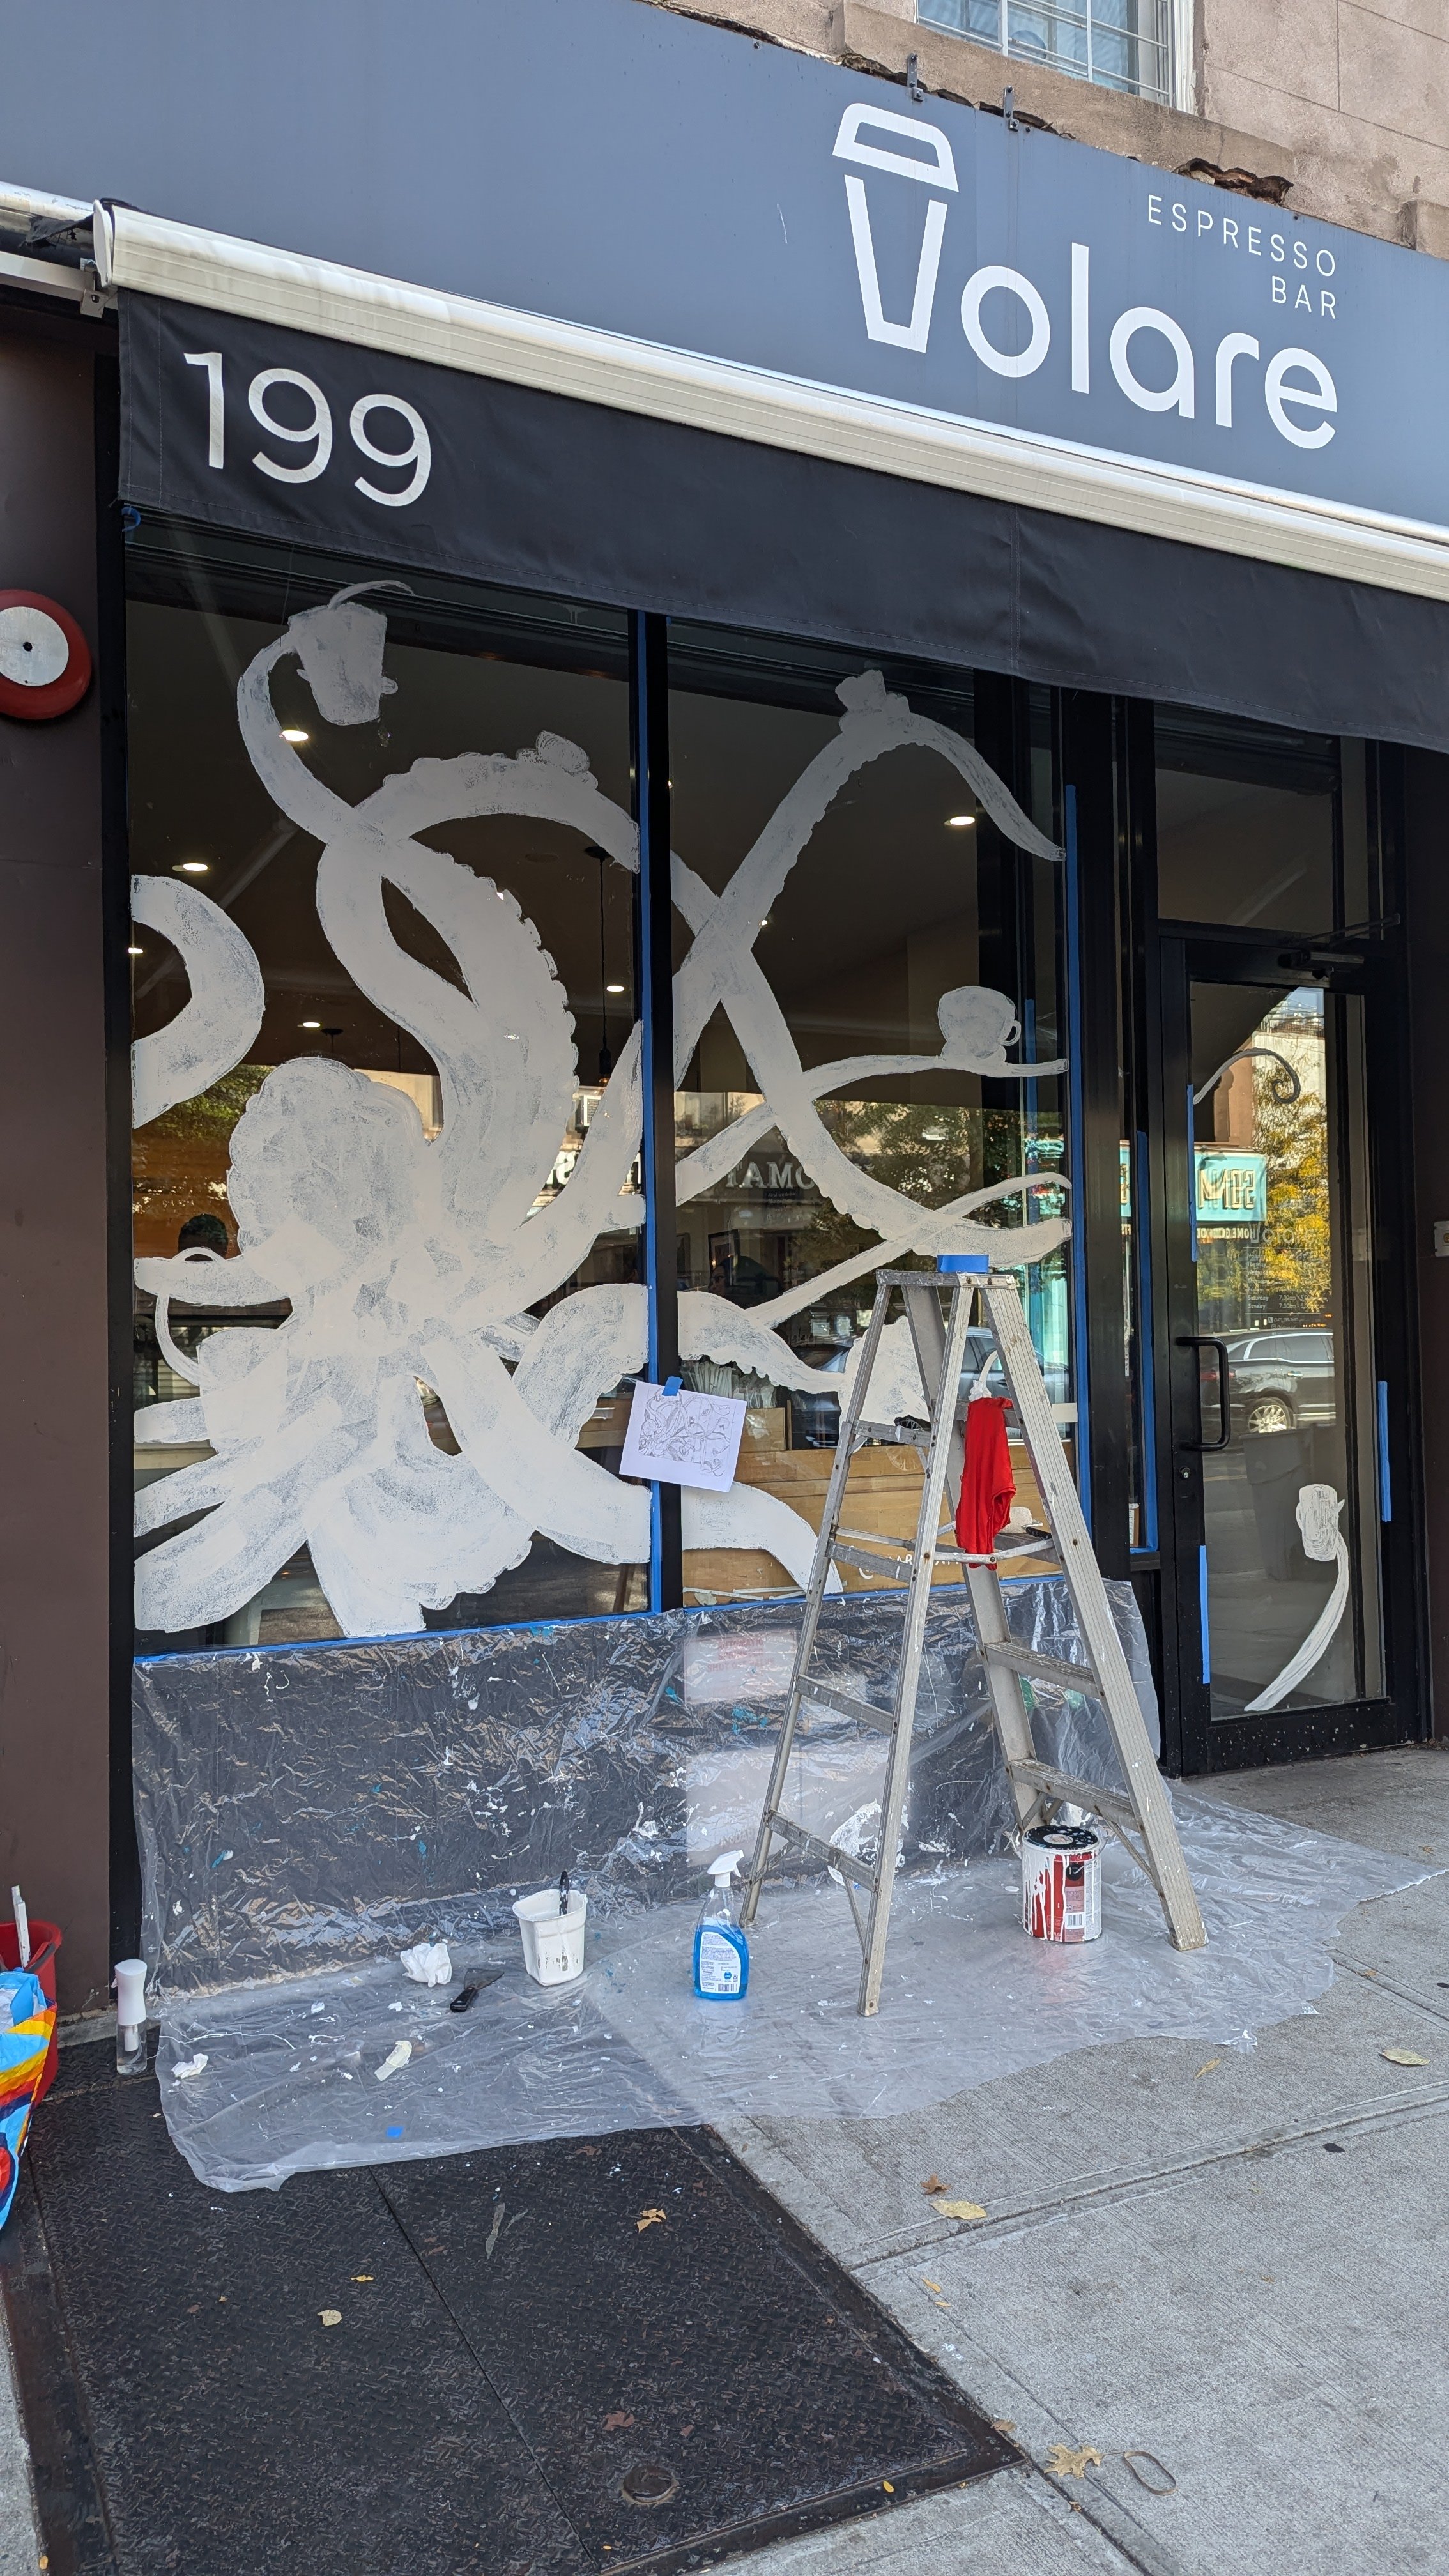
Priming the window art
6. Paint the Window
Layer the paint progressively. I use tester pots of interior emulsion paint and encourage you to lean into your personal style—don’t be afraid to have fun! Personally, I prefer to work from light to dark tones and enjoy experimenting with different brushes, including sweeping brushes! I believe window murals should feel a bit more free than permanent murals.

Process shot of creating the window mural
7. Clean Up
After painting, you may notice some smudges around the window. Use a razor cutter or metal scraper with a bit of water to remove any excess paint. Sometimes, an extra wipe-down may be necessary if you’ve removed paint midway through. Once done, pack up your supplies and treat yourself to a filling dinner!

Me in front of the final octopus mural!
8. Enjoy and Share
Take some pictures of your work. If it’s for a business, don’t hesitate to ask them for a review! If you made a window mural after reading this blog, I’d love to see your designs!